How to Ohm Out a Compressor? Step by Step Guide
Is your HVAC system refusing to start? A bad compressor could be the problem. One of the fastest ways to diagnose a compressor issue is to ohm it out using a multimeter. This simple electrical test checks the resistance of the motor windings inside the compressor.
It tells you whether the windings are healthy, open, shorted, or grounded. The best part? You do not need expensive tools or years of experience. A basic digital multimeter and some safety awareness will get you through it.
Whether you are an HVAC technician or a confident DIY homeowner, this guide will walk you through every step. You will learn how to identify compressor terminals, take accurate ohm readings, spot problems, and decide whether the compressor needs replacement. Let’s get right into it.
Key Takeaways
- Ohming out a compressor means measuring the electrical resistance of its internal motor windings using a multimeter set to the ohms scale. This test reveals whether the windings are intact, open, shorted, or grounded to the compressor shell.
- Safety comes first. Always disconnect power at the unit disconnect or breaker before touching any wires. Use proper lockout/tagout procedures and wear safety glasses, especially when working near the compressor plug terminals.
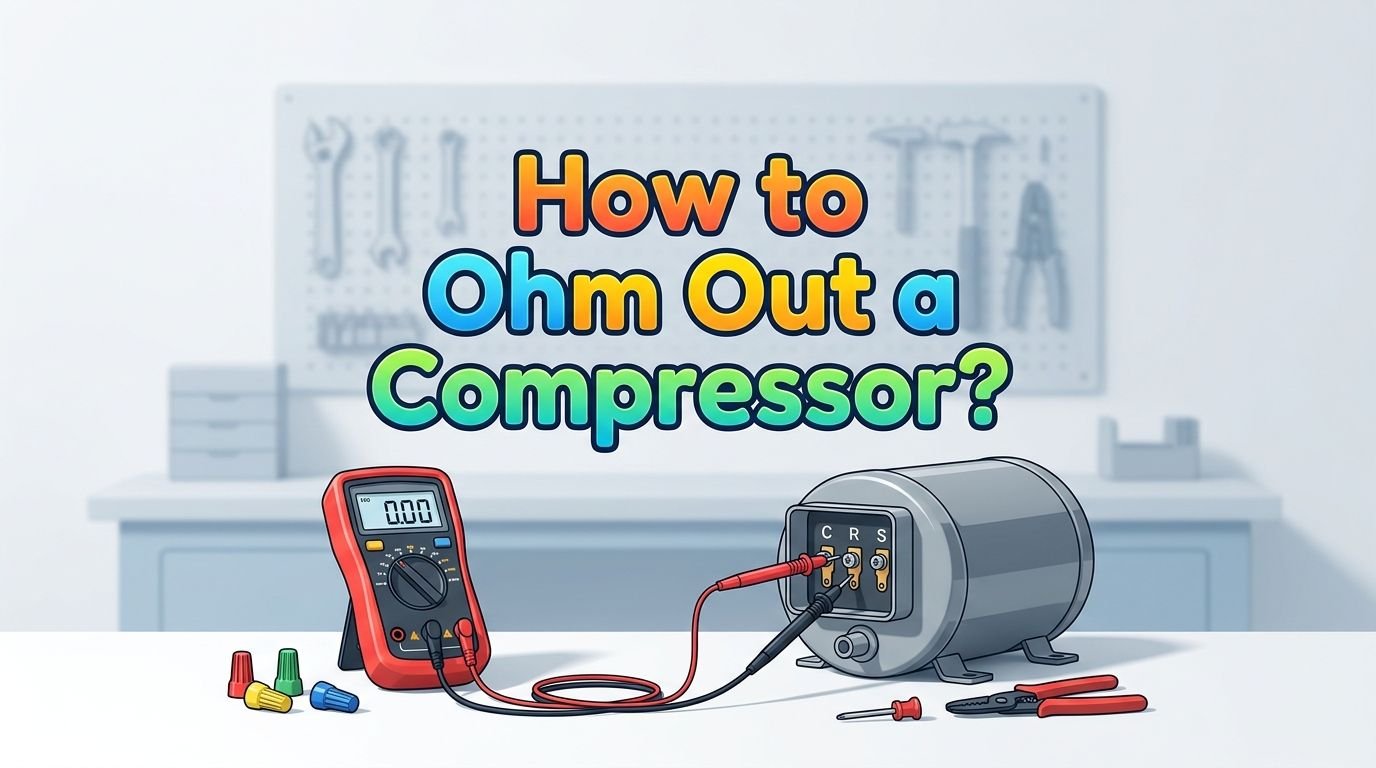
- A single phase compressor has three terminals: Common ©, Start (S), and Run ®. The lowest resistance reading is always between Common and Run. The medium reading is between Common and Start. The highest reading is between Start and Run. The sum of C to R and C to S should equal S to R.
- A 3 phase compressor should show equal resistance readings between all three terminal pairs. If one pair reads OL (open line/infinity), that winding is likely damaged.
- The ground test is critical. Measure resistance from each terminal to a clean copper line on the compressor body. A good compressor reads OL (infinity). Any measurable resistance means the compressor is shorted to ground and must be replaced.
- A tripped thermal overload can mimic a bad compressor. If you read OL between Common and Run and between Common and Start, but get a normal reading between Start and Run, the internal overload may be open. Let the compressor cool down and retest before condemning it.
What Does It Mean to Ohm Out a Compressor
Ohming out a compressor means you are measuring electrical resistance across the internal motor windings. Every compressor motor has coils of wire inside it. These coils carry electricity to create the magnetic field that drives the compressor.
Over time, those wire coils can break, melt, or make contact with the metal compressor shell. An ohm test uses a multimeter to detect these failures. You place the meter probes on the compressor terminals and read the resistance value in ohms.
A healthy winding shows a small but measurable resistance. An open winding shows OL or infinity. A shorted winding shows 0 ohms or a value much lower than expected. This test is one of the most reliable ways to confirm a compressor failure before spending money on a replacement.
Tools You Will Need for the Test
You do not need a garage full of equipment. A few essential items will cover you for a full compressor ohm test.
First, grab a digital multimeter with an ohms setting. Most basic multimeters have this feature. For a more thorough ground fault test, a megohmmeter (megger) provides a higher test voltage and greater accuracy.
You will also need insulated needle nose pliers for removing wires from the compressor terminals. A screwdriver helps with removing panel covers. Keep a pair of safety glasses and insulated gloves on hand at all times.
A nut driver set is useful for opening the electrical compartment of the outdoor unit. Finally, have your phone ready to take a photo of the wiring connections before you disconnect anything. This saves headaches during reassembly.
How to Disconnect Power Safely Before Testing
This step is absolutely critical. Never skip the power disconnect. Working on a live compressor can result in serious injury or death.
Go to the unit disconnect box near the outdoor unit and pull the disconnect or switch it off. If the disconnect is far from where you are working, lock it out and tag it so nobody turns it back on while your hands are inside the unit.
After disconnecting power, use your multimeter to verify that no voltage is present at the contactor in the unit. Set the meter to AC voltage and test across both sides of the contactor. You want a reading of 0 volts before proceeding.
Also make sure to discharge the run capacitor by shorting it with an insulated screwdriver. Capacitors store energy even after the power is off. This step protects you from an unexpected electrical shock.
How to Identify Compressor Terminals on a Single Phase Unit
A single phase compressor has three terminals labeled C (Common), S (Start), and R (Run). These terminals are located on a plug at the bottom or top of the compressor, depending on the model.
Some compressors have the letters stamped on the terminal housing. Others do not. If labels are missing, you can identify the terminals by their ohm readings, which we will cover in the next section.
The Common terminal connects to both the Start and Run windings. It serves as the shared connection point. The Run winding carries current during normal operation. The Start winding gets energized briefly during startup, usually with help from a capacitor.
Before removing wires, photograph the wire arrangement. Then disconnect all three compressor wires from the contactor and the run capacitor. This isolates the compressor for accurate testing.
Step by Step Guide to Ohm Out a Single Phase Compressor
Set your multimeter to the lowest ohms scale (often labeled R x 1 or the omega symbol). Now measure resistance between each pair of the three wires or terminals.
Test 1: Place one probe on the Common wire and the other on the Run wire. Record the reading. This should give you the lowest resistance value.
Test 2: Place one probe on the Common wire and the other on the Start wire. Record this reading. It will be higher than the first and is typically three to five times the Common to Run value.
Test 3: Place one probe on the Start wire and the other on the Run wire. This reading should be the highest and should equal the sum of the first two readings.
For example, if C to R reads 0.6 ohms and C to S reads 1.7 ohms, then S to R should read about 2.3 ohms. If the math checks out, the windings are likely healthy. If any pair reads OL or 0 ohms, there is a problem.
Pros of this method: Fast, requires only a basic multimeter, and gives clear results.
Cons of this method: Cannot detect early insulation breakdown. A megohmmeter is needed for deeper testing.
How to Ohm Out a 3 Phase Compressor
Three phase compressors work differently from single phase units. They have three identical windings instead of a separate Start and Run winding.
Set your multimeter to the ohms scale. Measure the resistance between each pair of the three terminals. You should get three nearly identical readings. For example, if Terminal 1 to Terminal 2 reads 1.0 ohm, then Terminal 1 to Terminal 3 and Terminal 2 to Terminal 3 should also read close to 1.0 ohm.
If one pair reads significantly different from the others, a winding may be damaged. If any pair reads OL, that winding is open and the compressor has failed.
Because all three windings are the same, there is no need to identify a Common, Start, or Run terminal. This makes the test slightly simpler.
Pros: Quicker to test since all readings should match.
Cons: A small resistance imbalance can still indicate a developing problem that a standard multimeter may not catch precisely enough.
How to Test for a Grounded Compressor
A grounded compressor means the motor windings have made electrical contact with the metal compressor shell. This is a serious fault and usually means the compressor is beyond repair.
To test for this, find a clean section of copper refrigerant tubing connected to the compressor. Sand or scrape it lightly to ensure a good metal contact point. This tube is brazed directly to the compressor shell and serves as your ground reference.
Set your multimeter to the highest ohms scale (R x 10,000 or megohm range). Place one probe on the cleaned copper tube. Place the other probe on each compressor terminal, one at a time.
A healthy compressor shows OL (infinity) for each test. This means no current can flow from the winding to the shell. If you get any measurable resistance, the compressor is shorted to ground. A reading of 0 ohms is a direct short and confirms the compressor is bad.
Pros of using a multimeter: Easy and accessible for most people.
Cons: A standard multimeter may not detect high resistance ground faults. A megger at 500V or higher is more reliable for borderline cases.
Understanding OL, Zero, and Normal Ohm Readings
Ohm readings on your multimeter tell a clear story. Knowing what each reading means saves you from making an incorrect diagnosis.
OL (Over Limit or Open Line) means infinite resistance. No electrical path exists between the two points you are testing. On a winding to winding test, OL suggests an open winding or tripped thermal overload. On a winding to ground test, OL is exactly what you want to see.
Zero ohms means there is no resistance at all. Between two winding terminals, 0 ohms means the windings are shorted together. Between a terminal and ground, 0 ohms means a direct short to the compressor shell. Both are bad.
A normal reading falls within the expected range for your compressor model. Single phase compressors often show readings between 0.5 and 20 ohms depending on the size and manufacturer. Always compare your readings with the manufacturer specifications when possible.
What to Do When the Thermal Overload Has Tripped
Sometimes your ohm test shows OL between Common and Run and between Common and Start, yet you get a normal resistance between Start and Run. This pattern does not always mean the compressor is dead.
The compressor has an internal thermal overload wired in series with the Common terminal. This device opens the circuit when the motor gets too hot. It protects the windings from permanent damage caused by overheating.
If the compressor is hot to the touch, the thermal overload may have tripped. Turn off power and let the compressor cool down for at least 30 to 60 minutes. Then retest. If the readings return to normal, the overload simply needed to reset.
However, you still need to find out why the compressor overheated in the first place. Poor airflow, a dirty condenser coil, low refrigerant charge, or electrical issues can all cause overheating. Fix the root cause or the overload will trip again.
Pros of waiting for reset: Avoids unnecessary compressor replacement.
Cons: Does not address the underlying cause. The overload could trip repeatedly and eventually lead to permanent winding damage.
How to Check the Compressor Plug and Terminals
If your wire tests look suspicious, the next step is to test directly at the compressor plug terminals. Wires can develop resistance from corrosion or damage, so testing at the source gives a more accurate picture.
Be very careful at this stage. The compressor plug sits under high refrigerant pressure. On a warm day, an R410A system can have approximately 275 psi of pressure inside the compressor. A damaged plug can blow out with tremendous force.
Always stand to the side of the compressor, never directly in front of the terminal plug. Use insulated needle nose pliers to remove the plug gently. Do not yank or force it. Recovering the refrigerant first is the safest approach, especially if you suspect the compressor is shorted.
Once the plug is removed, inspect it for burn marks, melting, or loose terminals. Then repeat all your ohm tests directly on the compressor terminals. Compare these results with your earlier wire test results.
When to Use a Megohmmeter Instead of a Multimeter
A standard multimeter is great for basic ohm testing, but it has limits. It applies a very low test voltage, usually around 1 to 3 volts. This is enough to detect a complete short or open, but it may miss insulation that is breaking down.
A megohmmeter (megger) applies 500 volts or more during the test. This higher voltage stresses the winding insulation and reveals faults that a standard multimeter cannot detect.
The industry standard from IEEE 43 recommends a minimum insulation resistance of 1 megohm plus 1 megohm per kilovolt of motor operating voltage. For a 240V compressor, that means a minimum acceptable reading of roughly 1.24 megohms.
Use a megger when you suspect a ground fault but your multimeter shows OL. Also use one after a compressor burnout to check if the replacement unit’s insulation is healthy before startup.
Pros: Catches insulation breakdown before a complete short occurs.
Cons: Meggers cost more than basic multimeters. They also require some training to use safely and interpret correctly.
Common Mistakes to Avoid When Ohming a Compressor
Even experienced technicians make errors during compressor testing. Here are the most frequent problems and how to avoid them.
Testing with power still on is the most dangerous mistake. Always verify zero voltage at the contactor before touching any wires. Skipping this step risks electrocution.
Forgetting to disconnect the wires from the contactor and capacitor will give you false readings. Other components in the circuit can create parallel paths that change the resistance value your meter displays.
Using the continuity beep setting instead of the ohms setting is another common error. The continuity setting may not give you a precise resistance value. Some technicians rely on the beep alone and miss a ground fault that shows a few ohms of resistance.
Not comparing readings to manufacturer specs can lead to a wrong diagnosis. Every compressor model has specific expected resistance values. Check the data plate or look up the model number to confirm your readings fall within range.
What to Do After Confirming a Bad Compressor
If your tests confirm a failed compressor, you have a few options depending on the unit’s age and warranty status.
Warranty replacement is the best scenario. Many compressors come with 5 to 10 year warranties. Check the unit’s data plate and contact the manufacturer with the model and serial number.
If the compressor is out of warranty, you need to weigh the cost of replacement against the age of the system. Replacing a compressor in a 15 year old system may not be the best investment. A full system replacement could be more cost effective in the long run.
After a burnout, the refrigerant becomes acidic and contaminated. Black soot can spread through the line set and evaporator coil. A proper burnout cleanup includes recovering all refrigerant, installing a suction line filter drier, flushing the line set, and sometimes replacing the line set entirely. Skipping this cleanup can destroy the new compressor within months.
Always perform a full system check after installing the new compressor. Verify the refrigerant charge, airflow, and electrical connections before leaving the job.
Frequently Asked Questions
What ohm reading indicates a bad compressor?
A reading of 0 ohms between any winding pair means the windings are shorted together. A reading of OL (infinity) between winding pairs (after the thermal overload has cooled) means a winding is open. Any measurable resistance between a terminal and the compressor shell ground means the motor is shorted to ground. All three conditions indicate a bad compressor that needs replacement.
Can I ohm out a compressor without removing it from the system?
Yes. You can perform initial ohm tests right at the compressor wires inside the electrical compartment of the outdoor unit. Disconnect the wires from the contactor and capacitor first. If those readings look suspicious, then test directly at the compressor plug terminals for confirmation.
What is the difference between a grounded and a shorted compressor?
A grounded compressor has winding insulation that has broken down, allowing electricity to flow from the winding to the metal compressor shell. A shorted compressor has windings that are touching each other internally, creating a low resistance path. Both are fatal faults. A grounded compressor often trips breakers, while a shorted compressor may draw excessive current and overheat.
How long should I wait for a thermal overload to reset?
Allow 30 to 60 minutes with the power completely off. The compressor needs to cool down enough for the internal thermal device to close again. If the compressor sits in direct sunlight on a hot day, it may take longer. You can carefully pour water over the shell (with power off) to speed up cooling.
Do I need a megger to test a compressor?
A megger is not required for every test, but it provides a more thorough diagnosis than a standard multimeter. A basic multimeter catches full shorts and open windings. A megger detects insulation breakdown in its early stages. For professional HVAC work, a megger is a valuable addition to your tool kit.
Are ohm readings the same for all compressor brands?
No. Different manufacturers and compressor sizes produce different resistance values. A small residential compressor may show 3 to 20 ohms between windings. A large commercial compressor may show less than 1 ohm. Always check the manufacturer data sheet for the specific model you are testing.

Hi, I’m Amelia Thornton, the founder of ElectroPro.blog.
I write about smart devices, gadgets, electronics, and tech essentials from Amazon.
My goal is to help you discover reliable and innovative tech that truly makes life easier.
From home automation to everyday gear, I test and share what’s worth your investment.
Join me as I explore the smartest tech trends—one gadget at a time.