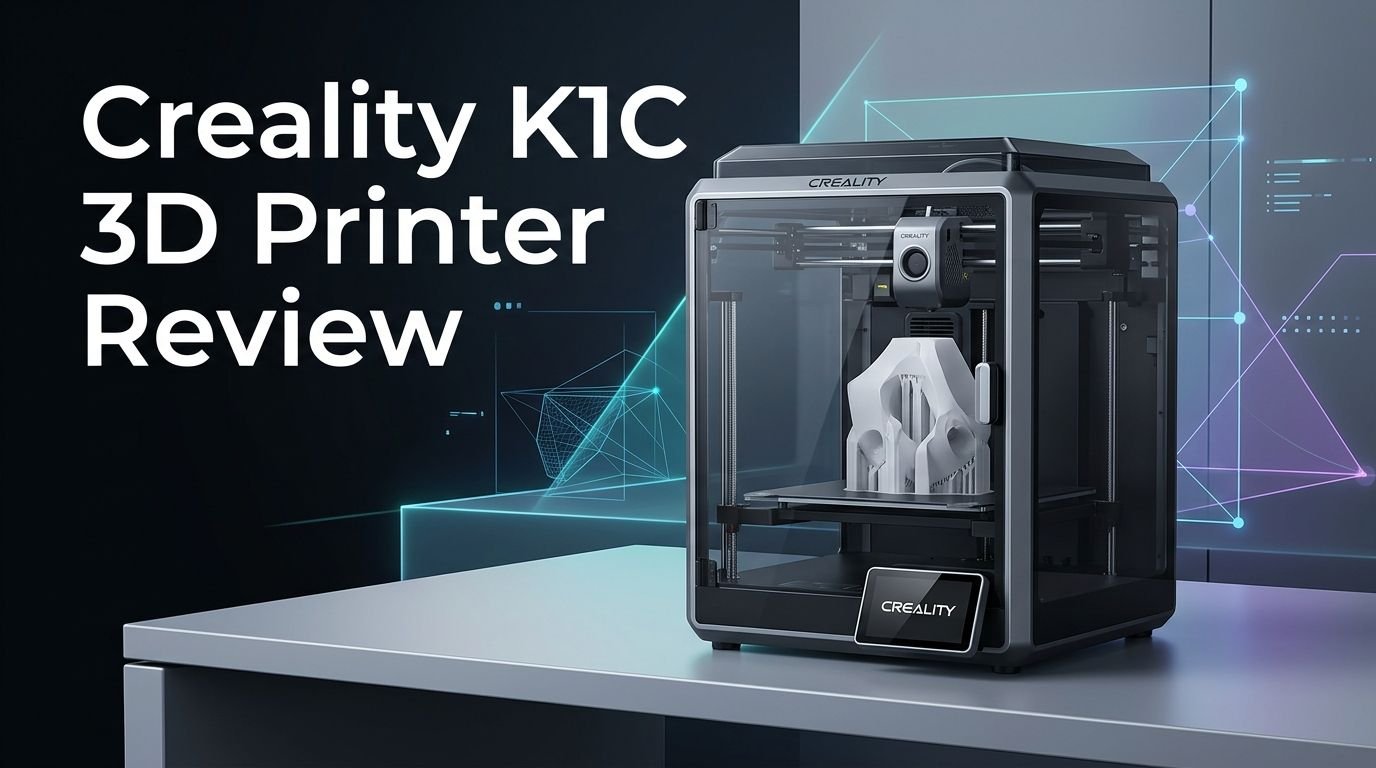
Creality K1C 3D Printer Review 2026: Worth Buying?
Are you looking for a fast, fully enclosed 3D printer that handles carbon fiber filament with ease? The Creality K1C has been turning heads since its launch.
It promises blazing 600mm/s print speeds, an all metal extruder, and a unique tri metal nozzle system. But does it still hold up in 2026?
This printer sits at a sweet spot between budget machines and premium options. It uses a CoreXY motion system, comes with an AI camera, and prints materials from PLA to Nylon.

Key Takeaways:
- The Creality K1C prints at speeds up to 600mm/s with 20,000mm/s² acceleration. This makes it one of the fastest enclosed 3D printers in its price range. Speed Benchy tests clock in at under 14 minutes, which is impressive for any FDM machine.
- The tri metal “Unicorn” nozzle is a standout feature. It combines copper, a titanium alloy heat break, and a hardened steel tip into one piece. This design prevents leaks and handles abrasive materials like carbon fiber PLA without rapid wear.
- You get a fully enclosed build chamber with a carbon filter. This makes printing ABS, ASA, and other fume producing materials safer and more reliable. The enclosure also helps maintain stable temperatures for better layer adhesion.
- The AI camera comes standard on the K1C. Previous K1 models required this as a separate purchase. The camera enables remote monitoring, timelapse recording, and basic print failure detection.
- Current pricing places the K1C around $399 to $499. The 2025 version has seen significant discounts from the original $559 MSRP. This makes it a strong value proposition for makers who want speed and material versatility in a single package.
- Klipper firmware runs under the hood. You can use Creality’s modified version or root the printer to run vanilla Klipper. This gives advanced users full control over tuning and customization.
Creality K1C 3D Printer Overview
The Creality K1C is a fully enclosed CoreXY 3D printer built for speed and material versatility. Creality released it as a direct upgrade to the popular K1. The “C” stands for Carbon, pointing to its ability to handle carbon fiber filled filaments right out of the box.
This printer uses a 220 x 220 x 250mm build volume. That size matches the classic Ender 3 footprint, so existing users will find it familiar. The machine weighs about 12.4 kg and measures 355 x 355 x 482mm. It fits comfortably on most desks and workbenches.
Check Out The Product Here
Check Out The Product Here
The heart of the K1C is its CoreXY motion system. This design keeps the print head light and agile. The result is faster movements with less vibration compared to bed slinger printers. Creality rates the maximum print speed at 600mm/s with acceleration up to 20,000mm/s².
You also get a 4.3 inch color touchscreen for easy operation. The printer connects through WiFi, USB flash drive, or the Creality Cloud app. Multiple connectivity options give you flexibility in how you manage your print jobs. The K1C ships 98% assembled, so setup takes just minutes.
Design and Build Quality
The Creality K1C looks modern and compact. Its enclosed frame uses a die cast unibody construction that feels solid. The panels are a mix of metal and plastic, with a transparent lid that lets you watch your prints in progress.
The enclosure serves a practical purpose beyond looks. It traps heat inside the chamber, which helps with printing ABS, ASA, and Nylon. A built in carbon filter sits at the back of the machine. This filter reduces fumes and odors during printing with materials that produce volatile compounds.
Build quality has improved over the original K1. The motion system uses polished metal rails that show no signs of wear even after extended use. Rubber feet come included to dampen vibrations, though the printer still shakes noticeably during high speed movements.
One design quirk is the rear mounted spool holder. It makes loading filament a bit awkward. Creality solved this by including printable files for a side mounted spool holder on the USB stick. The side mount works much better for day to day use. You can also pair the K1C with the optional Creality Space Pi filament dryer for printing hygroscopic materials like Nylon.
The Tri Metal “Unicorn” Nozzle System
The biggest hardware change on the K1C is its proprietary tri metal nozzle. Creality calls it the “Unicorn” style. This nozzle combines three metals into a single, one piece design.
The base is made from copper for excellent heat transfer. A titanium alloy section forms the heat break, which prevents heat from creeping up into the cold end. The tip uses hardened steel that resists wear from abrasive filaments like carbon fiber PLA and glass filled materials.
This one piece construction eliminates the gap between the nozzle and heat break. Traditional two piece designs can develop leaks at this junction. The Unicorn nozzle removes that risk entirely. The design follows a similar approach to what E3D pioneered with the Revo system.
Replacement nozzles are easy to find on Amazon and the Creality store. They snap in and out without tools, which makes maintenance quick. The stock nozzle is 0.4mm, but other sizes are available. Keep in mind that these nozzles are proprietary. You cannot use standard V6 or MK8 nozzles on this machine.
Top 3 Alternatives for Creality K1C


Print Speed and Performance Benchmarks
Speed is where the Creality K1C truly shines. The CoreXY system paired with lightweight components lets this printer move fast without sacrificing too much quality.
In a Speed Benchy test using 0.25mm layer height, 2 walls, 3 top and bottom layers, and 10% infill at 300mm/s, the K1C finished in just 13 minutes and 53 seconds. That result is remarkable. A traditional Ender 3 S1 running at 100mm/s takes about 55 minutes for the same print.
The finished Benchy showed even layers, smooth curves, and no visible ringing. There was some minor stringing, but nothing unusual for a speed test. The printer maintained consistent quality throughout the entire print.
Real world prints confirm these benchmarks. A carbon fiber PLA spool holder printed in 52 minutes using default settings at 0.2mm layer height. A PETG RC car seat took just 1 hour and 14 minutes. Even a full plate of ABS parts finished in under 3 hours. The K1C backs up its speed claims with actual results across multiple materials.
Material Compatibility and Extrusion System
The K1C handles a wide range of filament types. It prints PLA, PETG, ABS, ASA, TPU, Nylon, and carbon fiber filled materials without issues. The all metal hotend reaches temperatures up to 300°C, which covers most consumer grade filaments.
The all metal extruder is built for long term reliability. Creality claims 1,000 hours of clog free extrusion. A bolster spring and ball plunger keep tension consistent on the filament. This is a major upgrade over the original K1, which had more frequent clogging problems.
TPU printing works well on the K1C. The direct drive extruder grips flexible filament securely. Creality’s default TPU profile slows the volumetric flow to 3.5mm³/s for reliable results. You do need to hand feed TPU the last few centimeters into the extruder by popping off the Bowden tube.
Carbon fiber PLA is where the “C” in K1C really matters. The hardened steel nozzle tip resists abrasion from carbon particles. The resulting prints are smooth, strong, and show minimal layer lines. Standard brass nozzles would wear down quickly with these materials, so the Unicorn nozzle is a genuine advantage here.
Auto Leveling and Calibration
The Creality K1C features a fully automatic bed leveling system. You press one button and the printer handles everything. There is no manual adjustment needed.
The leveling process also includes input shaping calibration using built in accelerometer sensors. This process measures the printer’s vibration characteristics and adjusts motion parameters accordingly. The result is cleaner prints at high speeds with reduced ringing and ghosting artifacts.
A clever addition is the rubber brush mounted on the build plate. Before probing each point, the nozzle wipes itself clean on this brush. This ensures accurate readings by removing any filament residue from the nozzle tip. Small details like this show that Creality listened to user feedback from the K1.
The printer rechecks the level before each print by default. You can disable this in the slicer settings if you are confident the bed has not shifted. Skipping this step saves a few minutes per print. For most users, leaving it on provides peace of mind without adding significant time.
Software and Connectivity Options
Creality bundles its own slicer called Creality Print with the K1C. This program handles slicing, file management, and printer communication in one interface. It includes presets for all common filament types.
The slicer layout differs slightly from Cura or PrusaSlicer, but all the essential functions are available. You can adjust layer height, infill patterns, supports, speeds, and temperatures. The software generates helpful thumbnail previews that show up on the printer’s touchscreen.
A built in device tab acts as a simplified Klipper dashboard. From here, you can view the printer’s file storage, temperatures, motion system status, and camera feed. You can also access this dashboard through a web browser by entering the printer’s IP address.
The K1C supports three file transfer methods. You can use a USB flash drive for offline printing. WiFi connectivity lets you send files over your local network. The Creality Cloud app offers remote access from anywhere. The Cloud interface is a bit busy and gamified for some tastes, but it is entirely optional. Power users can also send files from third party slicers directly through the web interface.
AI Camera and Remote Monitoring
The K1C includes a preinstalled AI camera as a standard feature. On the original K1, this camera was an optional add on. Including it by default was a smart move by Creality.
The camera serves several purposes. First, it enables remote print monitoring through the Creality Cloud app or the web interface. You can check on your print from another room or even while you are away from home. This is helpful for long prints that run overnight.
Second, the camera supports timelapse video recording. You can capture your entire print process and create smooth timelapse clips. These are great for sharing on social media or documenting your projects.
Third, Creality has added basic AI print failure detection. The system can recognize certain types of print failures, such as spaghetti or layer shifting, and alert you. This feature is not perfect, but it adds an extra layer of safety. Catching a failed print early saves both time and filament. Note that the K1C does not include Lidar, which remains exclusive to the K1 Max model.
Build Plate and Bed Adhesion
The K1C uses a smooth PEI coated steel flex plate as its build surface. This plate is removable and magnetic. You can pop it off, flex it slightly, and your finished prints release easily.
One drawback is that this particular PEI surface requires a glue stick for reliable adhesion. Many users find this annoying, and we agree it is not ideal. However, glue stick application is quick and does provide consistent results across all material types.
The heated bed reaches temperatures suitable for ABS and Nylon. Combined with the enclosed chamber, the K1C maintains stable thermal conditions throughout the print. This prevents warping and corner lifting on large parts. Users who have tested ABS reported zero warping issues with a proper layer of glue stick applied.
Cleaning the bed is straightforward. A damp cloth removes glue residue between prints. For deeper cleaning, isopropyl alcohol works well. The flex plate surface holds up over time, though very aggressive removal can scratch the PEI coating. Using the plate’s natural flex to release prints is always the better approach.
Assembly and Initial Setup
Getting the K1C up and running is fast. The printer arrives 98% preassembled in the box. You only need to complete a few simple steps.
Unbox the printer and remove all packing foam and protective materials. Unscrew the three screws holding the build plate in place during shipping. Plug in the touchscreen cable. Attach the filament spool holder to the back of the machine. Pop the carbon filter onto the rear vent.
The entire process takes about 10 to 15 minutes. No special tools are required. Creality includes a PDF manual, a helpful setup video on the USB stick, and all necessary hardware. A sample spool of white Creality Hyper PLA is included so you can start printing immediately.
After physical setup, run the auto leveling and calibration routine from the touchscreen. This takes a few minutes and ensures your first prints come out right. The printer also stores calibration data, so you only need to do a full calibration once unless you make hardware changes.
Noise Levels and Vibration
High speed printing generates noise. The K1C is no exception. During fast movements, the printer produces a noticeable hum from the motors and fans. The enclosure helps muffle some of this sound, but it does not eliminate it.
Creality includes a silent mode option in the printer’s settings. This reduces speeds and fan output to lower the overall noise. Silent mode is useful for printing at night or in shared living spaces. Print quality may actually improve slightly at reduced speeds due to less vibration.
The rubber feet included with the K1C help absorb vibrations. However, the machine still jiggles visibly during aggressive acceleration moves. Placing the printer on a heavy, stable surface like a concrete slab or thick wooden shelf reduces this significantly.
For most home users, the noise level is acceptable during normal operation. It is comparable to other CoreXY printers in this class. If you plan to run the printer in a bedroom or quiet office, silent mode is your best friend. The tradeoff in speed is worth the reduction in sound for those situations.
Who Should Buy the Creality K1C?
The Creality K1C fits a specific type of user. It is ideal for makers who want fast, enclosed printing across a range of materials without spending over $500.
Beginners benefit from the easy setup, auto leveling, and beginner friendly touchscreen. The included sample filament and preloaded test models let you start printing within 30 minutes of unboxing. Creality Print software is straightforward enough for first time users.
Intermediate users appreciate the Klipper firmware, open source roots, and the ability to root the printer. You can customize input shaping, pressure advance, and other advanced parameters. The CoreXY system rewards users who like to fine tune their machines for peak performance.
Professional prototypers and small businesses find value in the K1C’s speed and material range. Printing functional parts in carbon fiber PLA, Nylon, or ABS at high speeds reduces turnaround time. The AI camera enables remote monitoring of long production runs.
The K1C may not be the best choice if you need multi color printing. Creality’s K2 series handles that better with its four color module. If you need a larger build volume, the K1 Max offers a 300x300mm bed with similar features.
Creality K1C vs. the Competition
The K1C competes directly with several popular printers. Here is how it stacks up.
Against the Bambu Lab P1S, the K1C offers faster maximum speed (600mm/s vs. 500mm/s) and costs less. The P1S has a slightly larger build volume and better software integration with BambuStudio. The P1S also supports multi color printing with the AMS, which the K1C lacks.
Compared to the AnkerMake M5C, the K1C wins on enclosure and temperature capability. The M5C is an open frame printer, which limits its ability to print ABS and Nylon reliably. The K1C’s 300°C hotend also beats the M5C for high temperature materials.
The ELEGOO Neptune 4 Pro costs significantly less than the K1C. It also runs Klipper and prints at 500mm/s. However, it lacks an enclosure, has a smaller community, and does not include a camera. The K1C justifies its higher price with the enclosed design, AI camera, and carbon fiber ready nozzle.
Each printer has its strengths. The K1C hits a balanced sweet spot between price, speed, features, and material capability. It does not dominate in any single area, but it performs well across the board.
Final Verdict: Is the Creality K1C Worth It in 2026?

The Creality K1C remains a strong contender in the mid range 3D printer market in 2026. It delivers on its core promises of speed, material versatility, and ease of use. The improvements over the original K1 are meaningful and practical.
At its current price point of around $399, it offers excellent value. You get an enclosed CoreXY printer with Klipper, an AI camera, and a nozzle system ready for carbon fiber. Few other printers match this combination of features at this price.
The downsides are minor. The glue stick requirement is annoying but not a deal breaker. The proprietary nozzle limits your options, though replacements are affordable and widely available. The rear spool holder is awkward, but the printable side mount fixes that.
If you want a reliable, fast, and versatile single color 3D printer without spending a fortune, the Creality K1C deserves serious consideration. It has proven itself over time, and the 2025 version with its price drops makes it an even better buy in 2026.
Frequently Asked Questions
Can the Creality K1C print carbon fiber filament?
Yes. The K1C was specifically designed for carbon fiber filled filaments. Its hardened steel nozzle tip resists the abrasion that carbon particles cause. It handles carbon fiber PLA, PETG CF, and similar composite materials without rapid nozzle wear. The enclosed chamber also helps maintain consistent print temperatures for these materials.
What is the maximum print speed of the Creality K1C?
The K1C reaches a maximum print speed of 600mm/s with acceleration up to 20,000mm/s². In real world use, default profiles typically run at 300mm/s, which still produces excellent results. Speed Benchy tests at 300mm/s finish in under 14 minutes with good quality.
Does the Creality K1C need manual bed leveling?
No. The K1C features fully automatic bed leveling with a tap sensor system. It also includes a nozzle cleaning brush that wipes the nozzle before probing. The entire leveling and input shaping process runs with a single button press. No manual adjustments are required.
Is the Creality K1C good for beginners?
Yes. The K1C arrives 98% assembled and takes about 15 minutes to set up. The touchscreen interface is simple and clear. Auto leveling removes the guesswork from bed calibration. Creality Print software includes presets for all common materials. A sample spool of filament is included to start printing right away.
Can I use third party slicers with the Creality K1C?
Yes. While Creality Print is the bundled slicer, you can use Cura, PrusaSlicer, OrcaSlicer, or any slicer that exports G-code. Files can be transferred via USB stick or sent through the web interface using the printer’s IP address. Custom profiles based on the Ender 3 platform work as a starting point for setup.
Does the Creality K1C support WiFi connectivity?
Yes. The K1C connects to your home WiFi network for wireless file transfer and remote monitoring. You can also use the Creality Cloud app for remote access. Additional options include USB flash drive and direct LAN connection for users who prefer wired setups.